I know, I know. We’re so fancy. But I’m talking homemade frozen pizza. Does that take it up a notch?
Let’s say you’re making pizza sauce one night, and you misread 6 oz of water in a recipe as 6 cups. And let’s say you’re already tripling your recipe, so now you’ve got 18 cups of pizza sauce. And you say to yourself, “Self, I just don’t think this is the right consistency. But it said 6 cups….oh.” So you do what any normal person would do: go to the store and buy 12 cans of tomato paste to thicken up your pizza “sauce,” and you make frozen pizzas.

Gallons (!) of Pizza Sauce.
This is one of those times when misreading the recipe resulted in a good thing. Because though we often make our own pizza, I had never made it ahead and frozen it before.
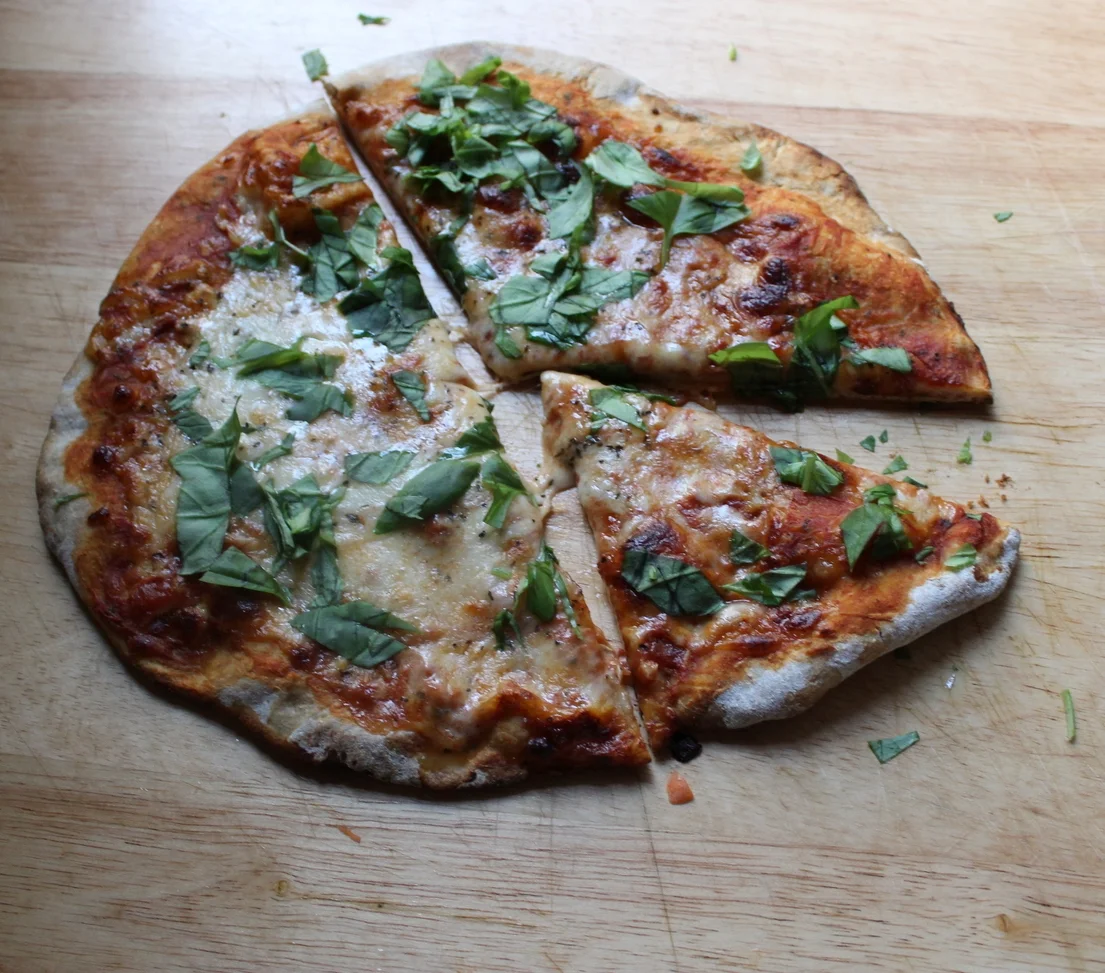
The key is to parbake your crusts before adding sauce and toppings. That way the crust won’t become a soggy mess. Then double wrap your pizzas, freeze, and enjoy whenever you need to eat. If you chop up some basil and throw it on when it comes out of the oven, it tastes fresh and delicious. I always eat Caesar salad on (yes, on) my pizza, so throw some of that on there too and you’ve got dinner!
What’s the point? Well, it does save some cash. Based on my rudimentary calculations, a homemade frozen pie costs $2-3. You can find frozen pizzas in the supermarket for that, usually on sale. But you know everything that’s going into this one, which is always a bonus, and especially important if you’re dealing with allergies. It’s also a pretty fun project for kids.
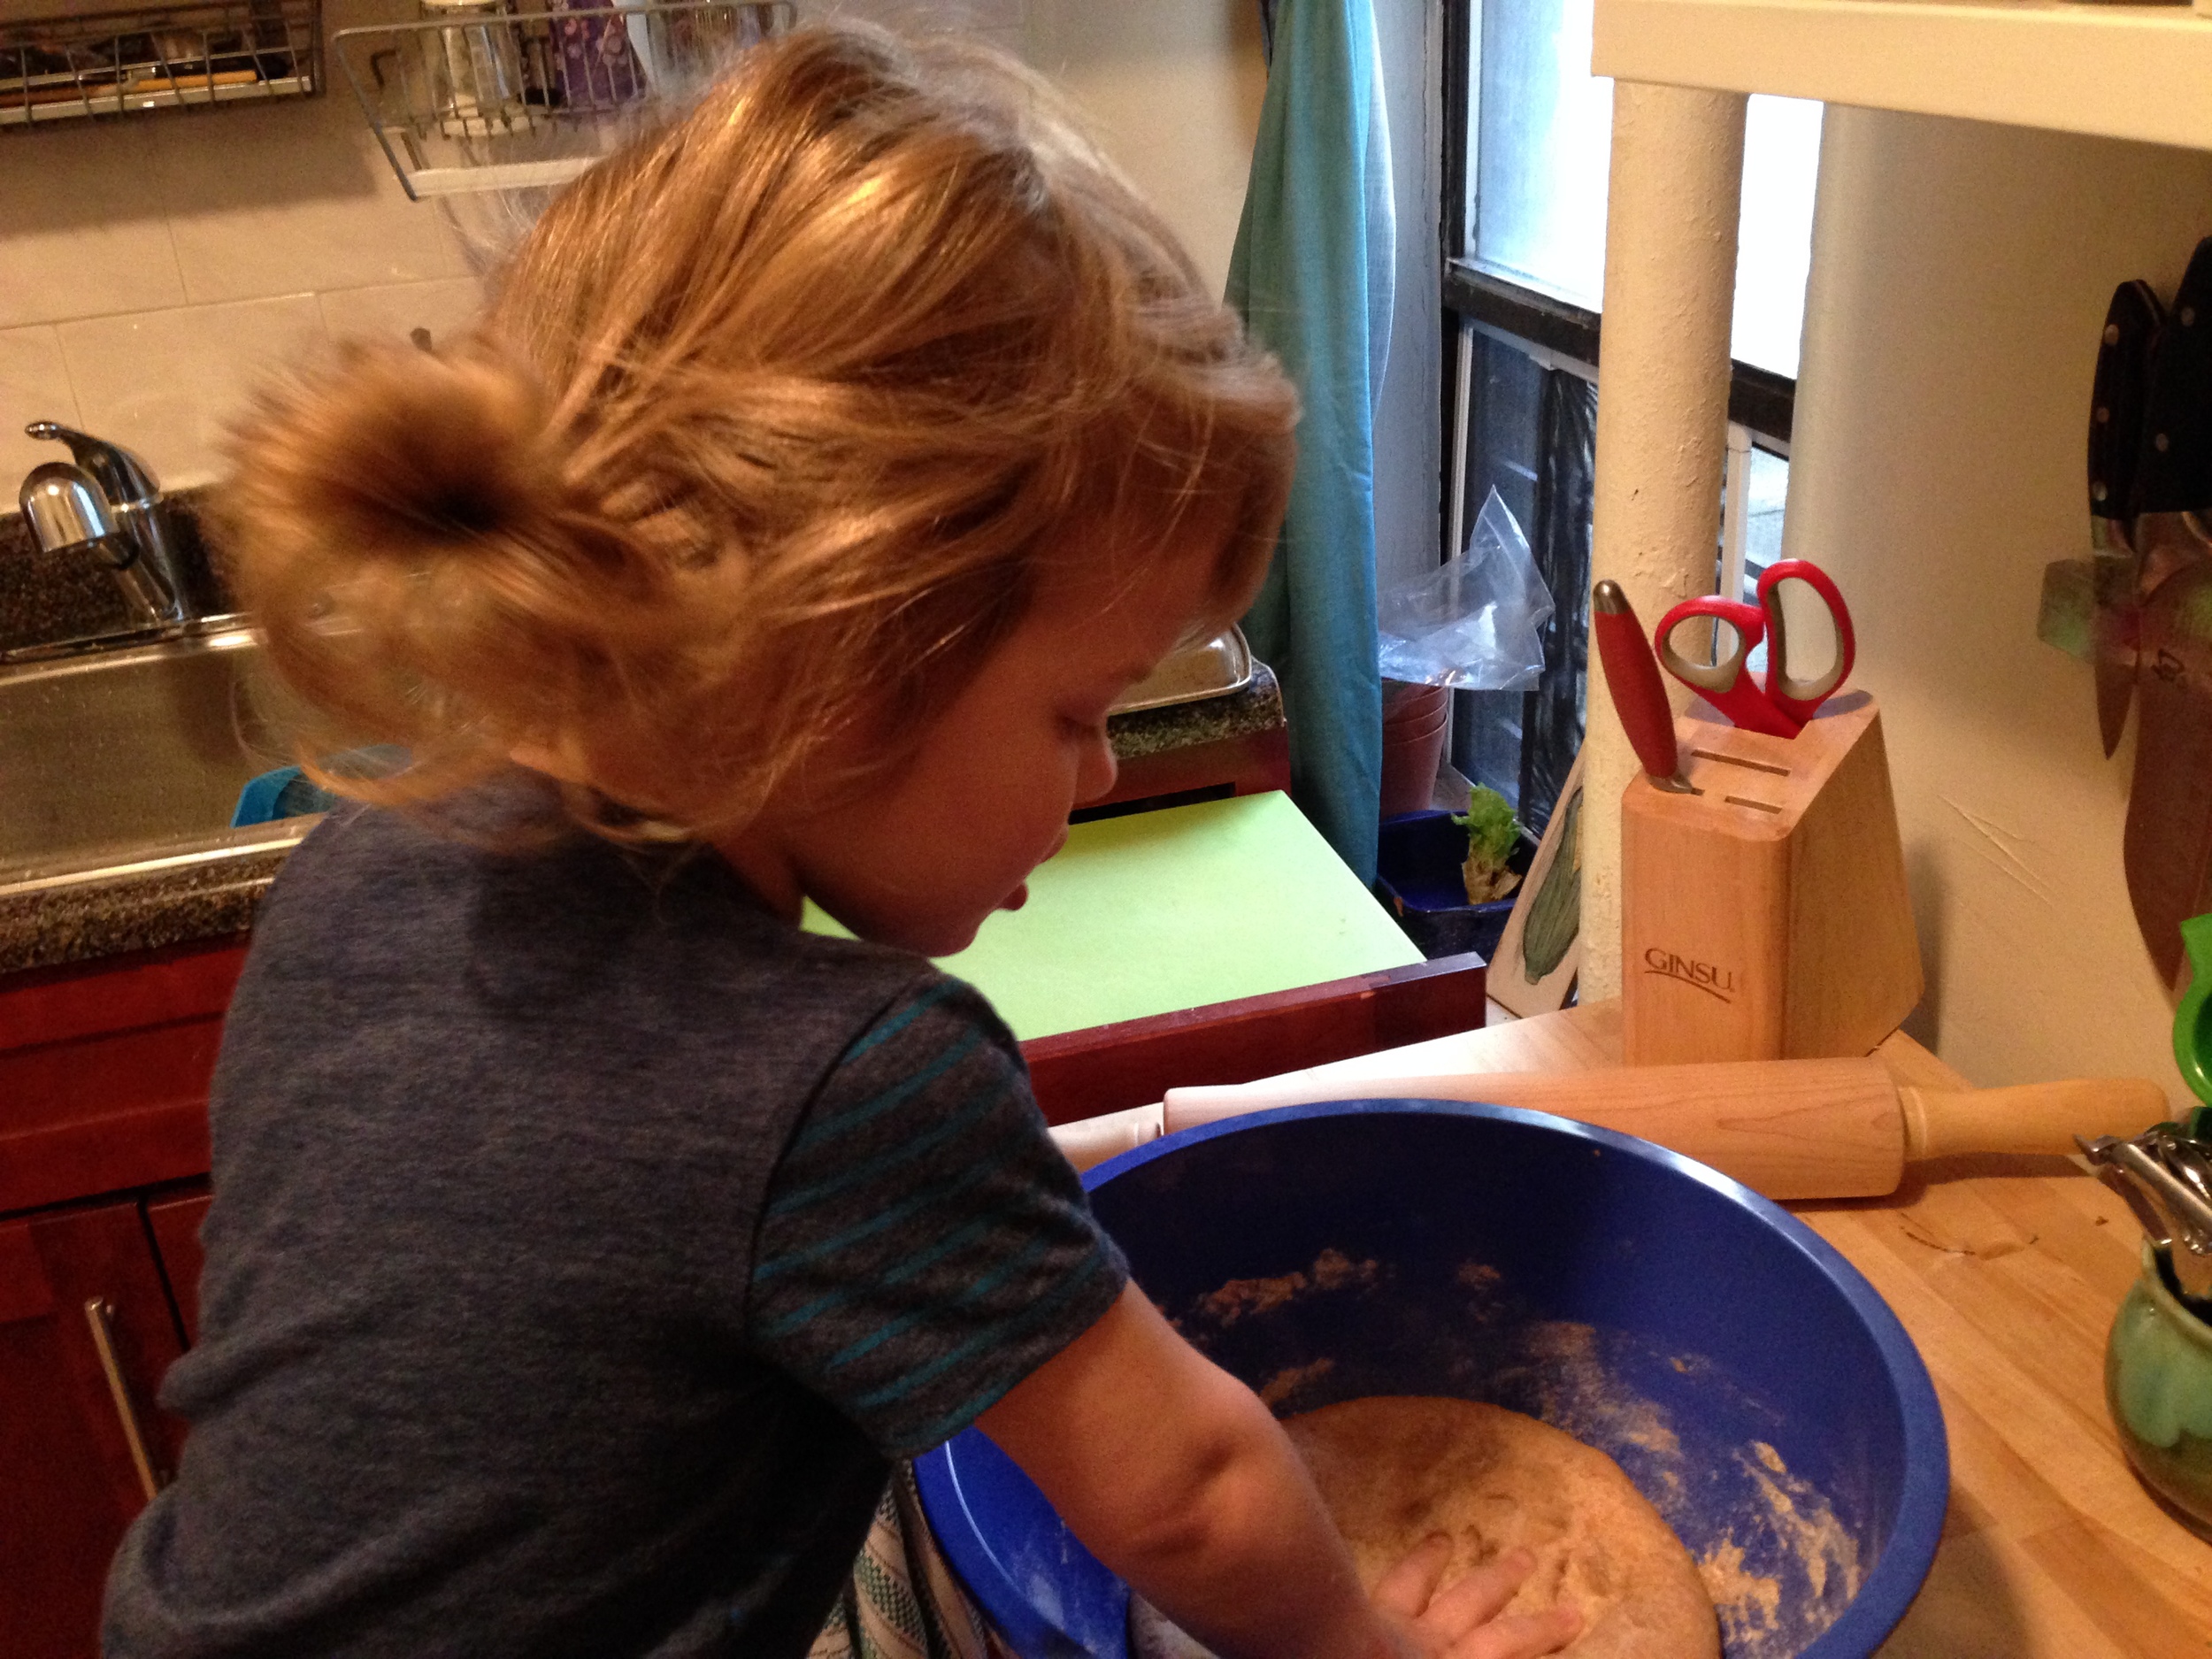
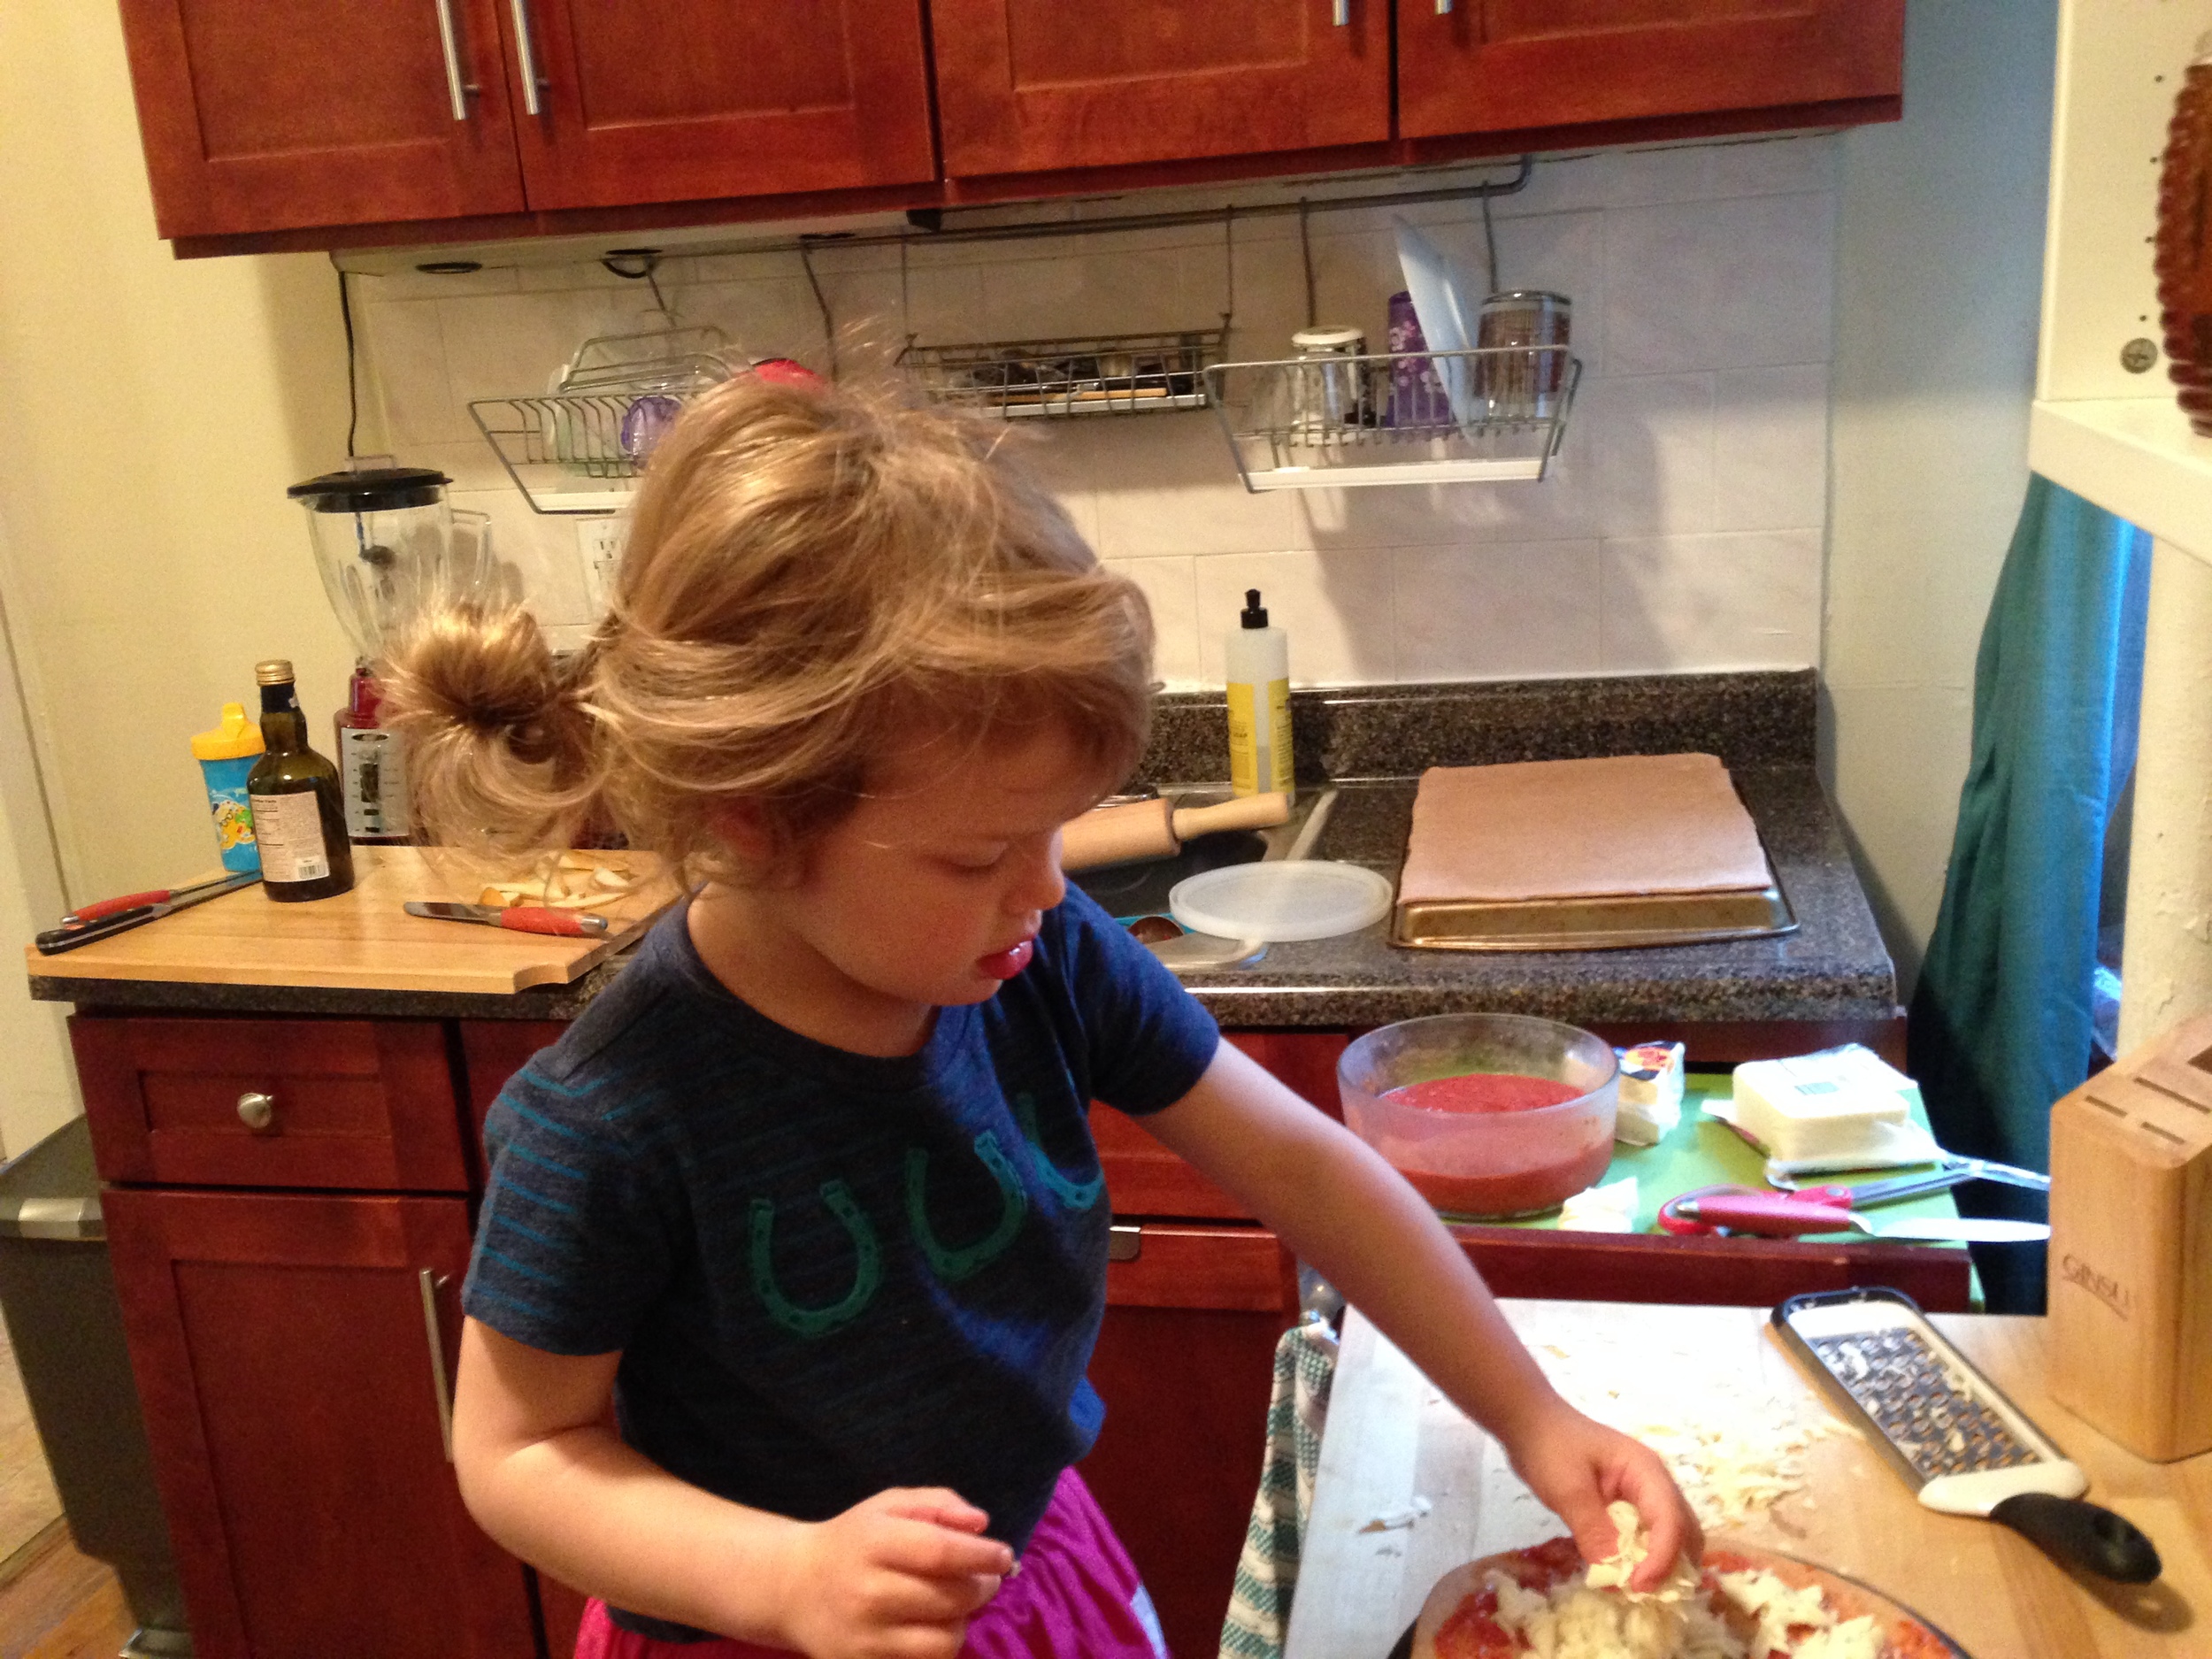
For those in the back, here are the “directions,” as such, for Homemade Frozen Pizza. The lovely Lou will demonstrate. And if a 3-year-old can make your dinner, that probably means it's easy.
Supplies
1. Pizza dough, ready to be rolled out. (Here’s the recipe I use).
2. Pizza sauce – about one scant ladleful for every 12” – 14” pie (Here’s the recipe I use)
3. Toppings to your heart's content.
Directions
1. Preheat your oven and a baking stone, cast iron skillet or cookie sheet to 475. (For a great rundown on alternatives to baking stones, check out Susan’s Cooking School on the topic).
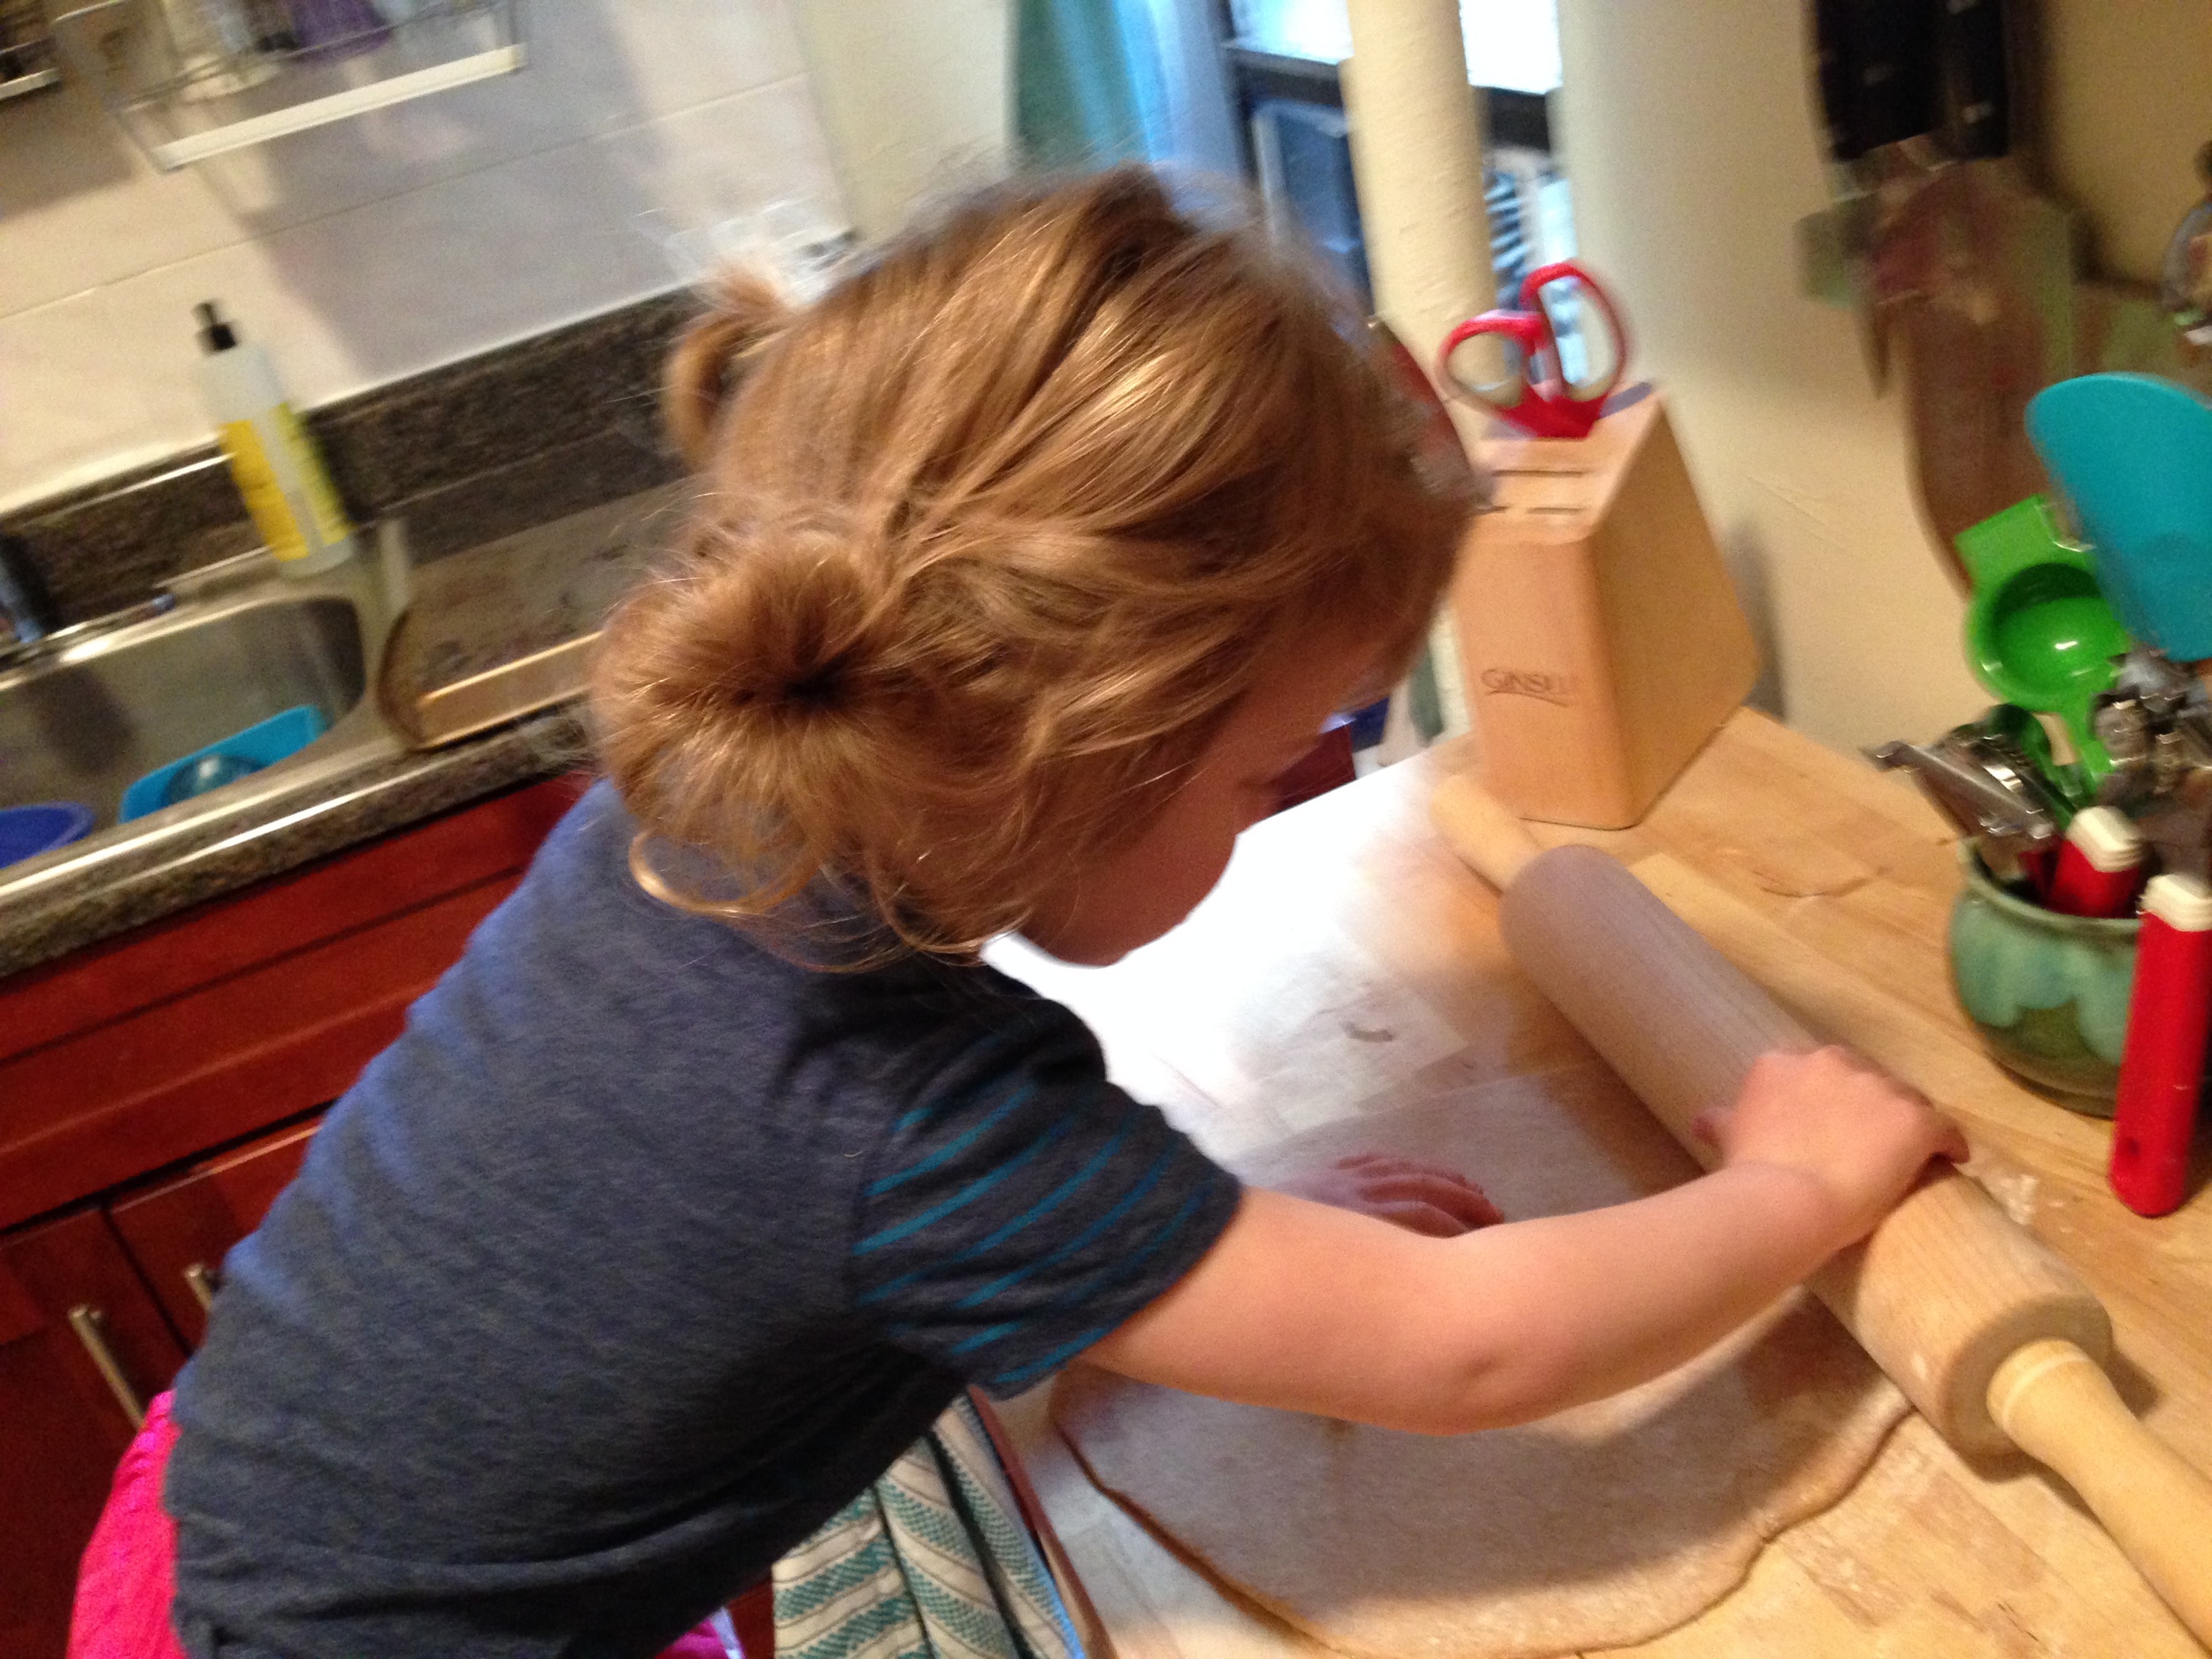
2. On a lightly-floured surface, roll out your pizza dough into whatever shape you desire – one that matches whatever stone or cookie sheet you’re using is a good call.
3. Carefully put the pizza dough on your preheated stone or sheet (note above, Lou's cast iron is NOT preheated. Also note: she rolled out that perfect pizza circle. My girl!).
4. Bake for about 5 minutes, or until lightly golden brown – when it looks bready, not doughy.
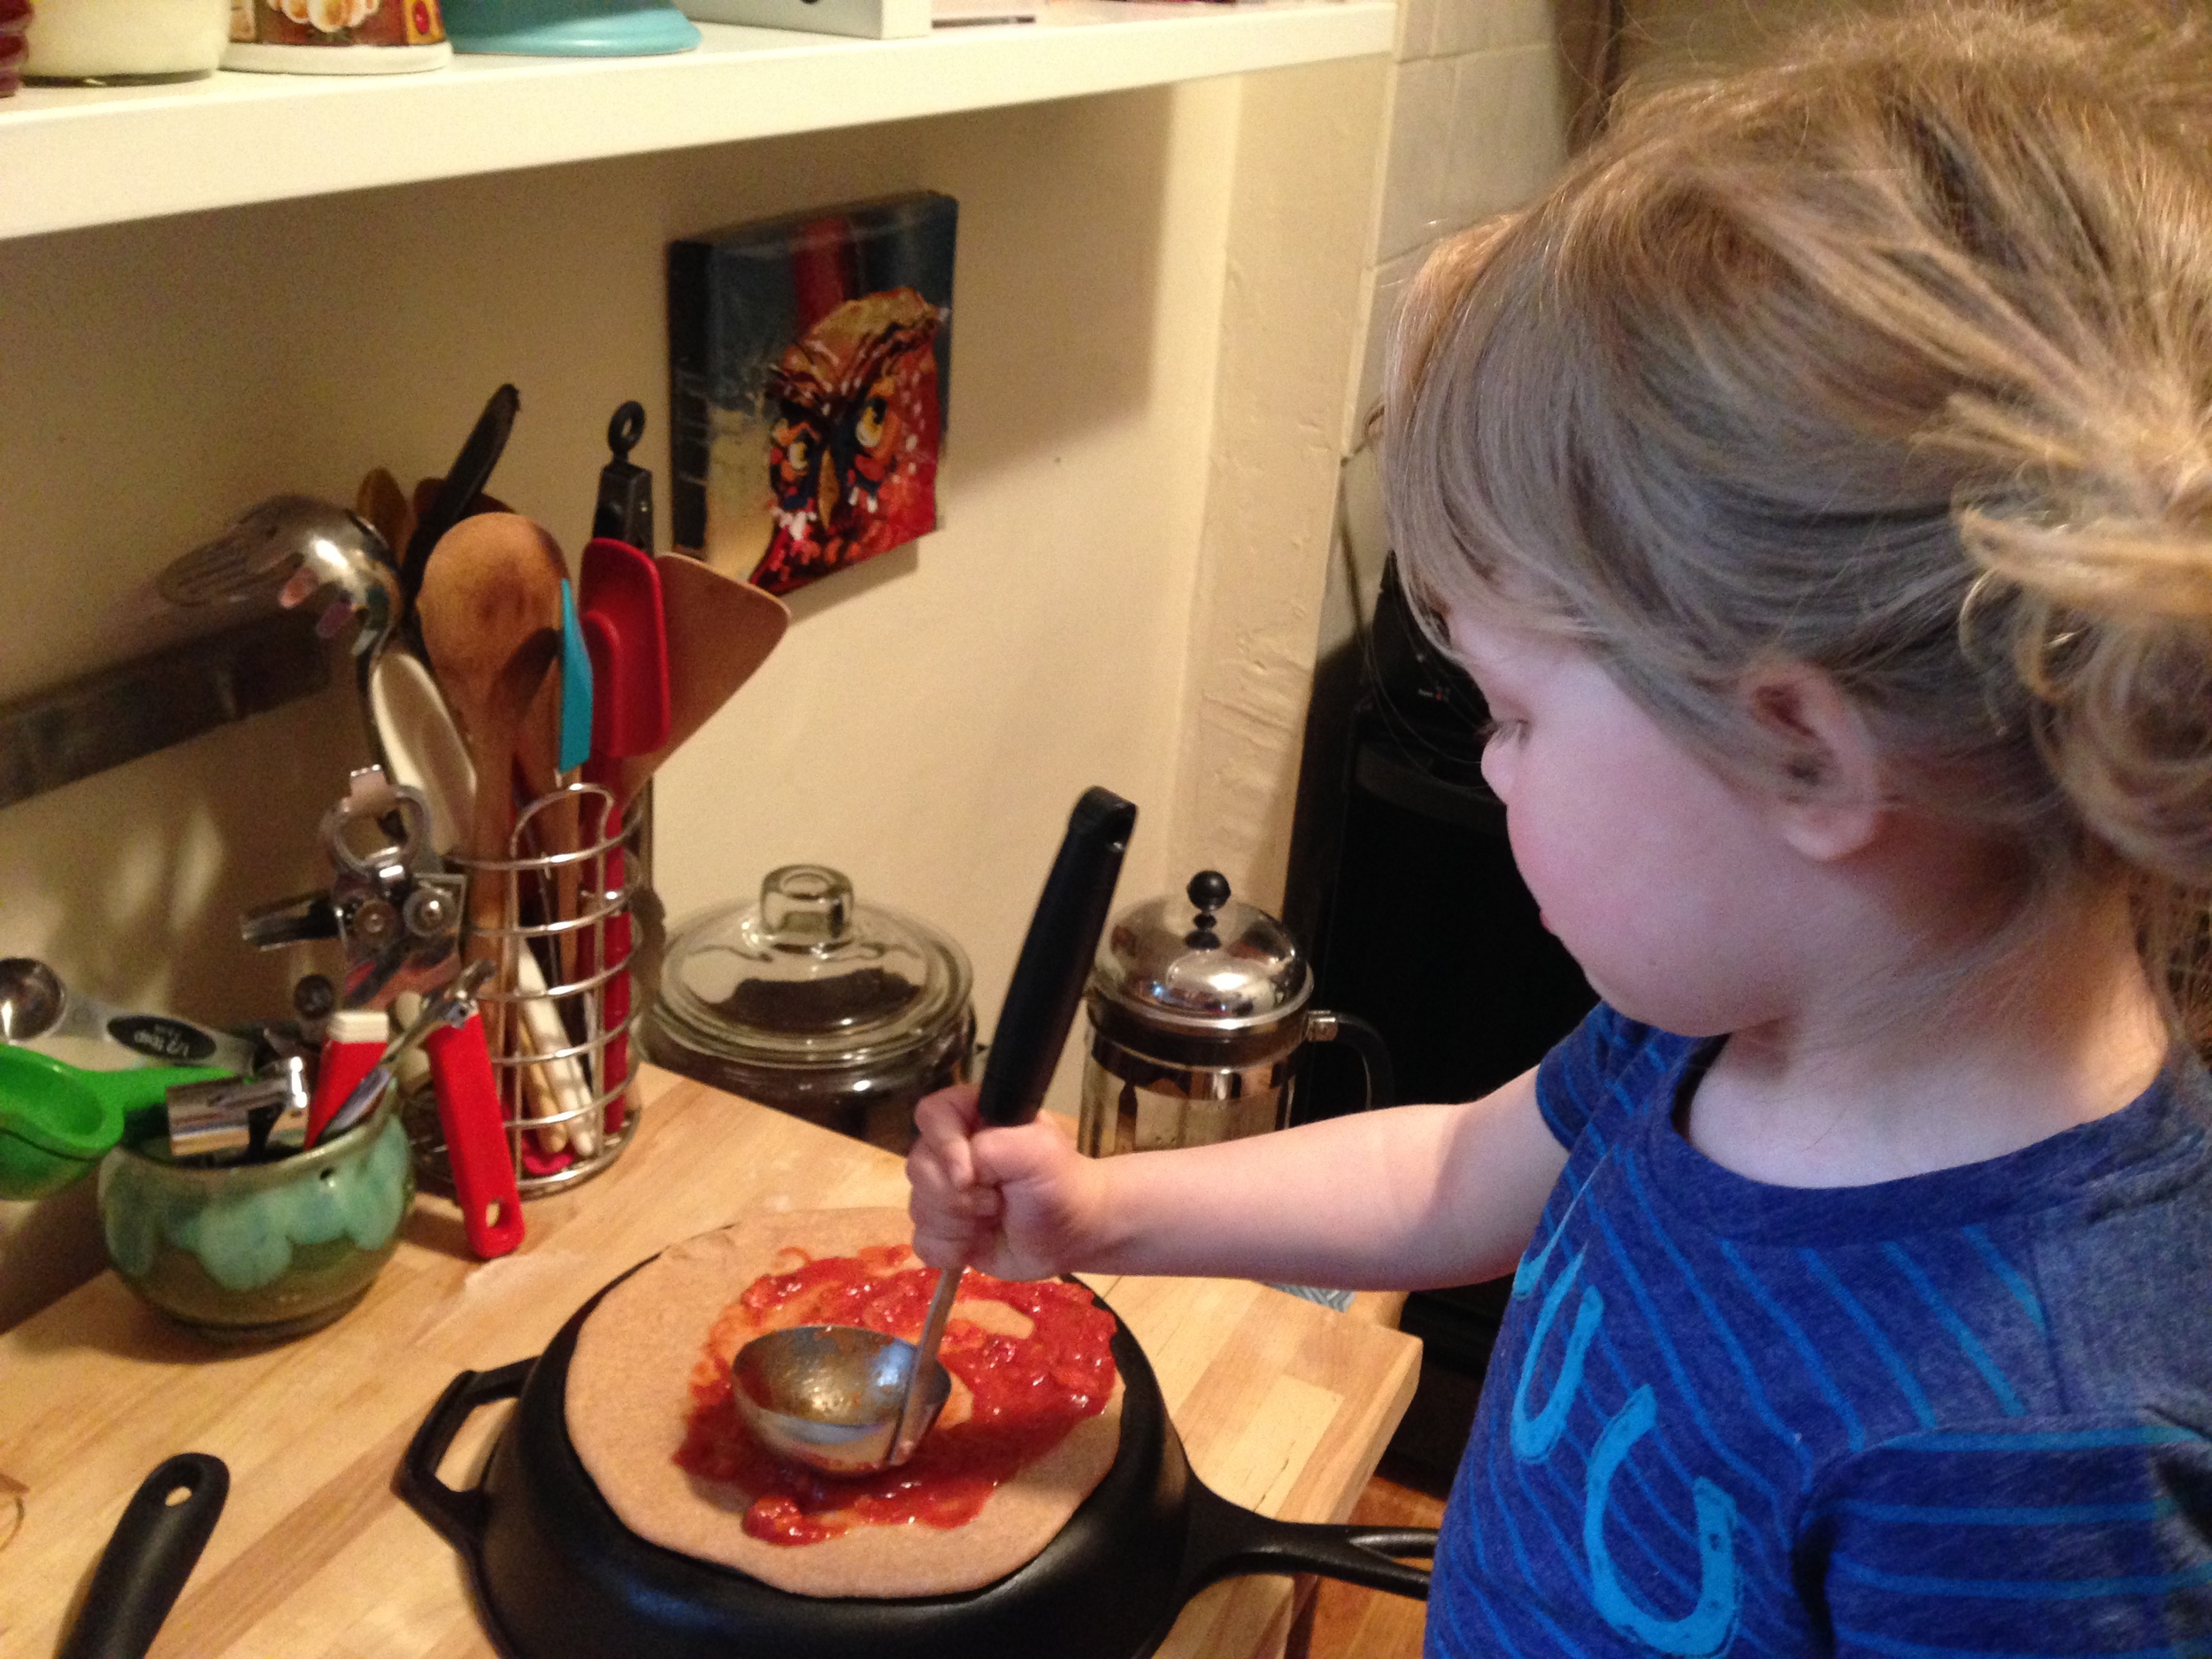
5. Remove pizza from oven and, using a ladle, pour a scant ladle full of sauce in the middle of your pizza. Use the bottom of the ladle to draw the sauce out in widening concentric circles, leaving about a thumb’s width as your outer edge. (I include this step because lots of home cooks add more sauce than your neighborhood pizza guy would, which can make your pie soggy).
6. Add cheese (I use ½ to ¾ cup grated mozzarella) and whatever toppings you like.
7. Double wrap your pizza in saran wrap and foil and put in the freezer.

Not-yet-appetizing DIY Frozen Pizza
8. When you’re ready to eat, preheat your oven to 475. Remove pizza from wrappings and cook from frozen for 10-12 minutes or until cheese, if you’re using, looks deliciously melted to you.